Openers · Mississauga
Smart Garage Controller Setup
The house came with a controller already screwed to the garage ceiling and a sensor on the door, but the app insists the device belongs to another account.
In plain words
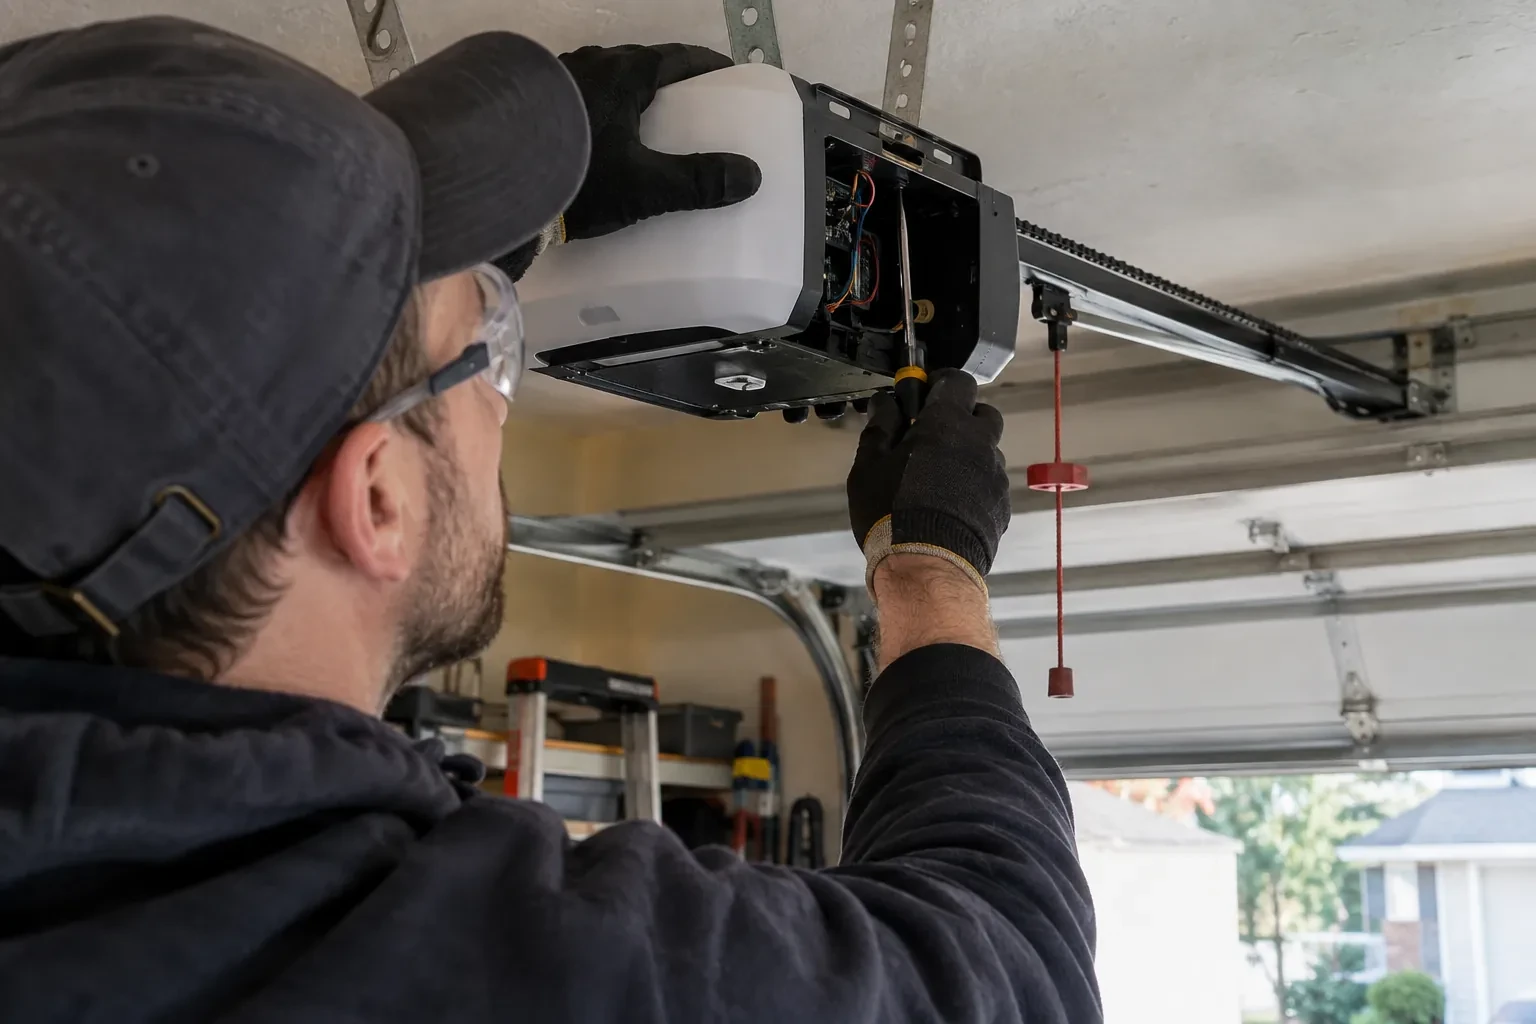
The physical part of the job is modest and tidy. A hub the size of a deck of cards is mounted near the opener and plugged into the same receptacle the motor uses. Where the opener allows, two low-voltage wires run from the hub to the wall-control terminals; where it does not, the hub is taught to the opener through the learn button like an extra remote. A sensor the size of a matchbox is screwed to the inside of the top door section, and its tilt tells the hub the door's position. Then the door is cycled until the app agrees with your eyes.
How the visit goesThe house came with a controller already screwed to the garage ceiling and a sensor on the door, but the app insists the device belongs to another account. The seller has moved provinces, the emails go unanswered, and every evening the door still reports to a stranger's phone.
Smart Garage Controller Setup
How the visit goes
Power and a home for the hub
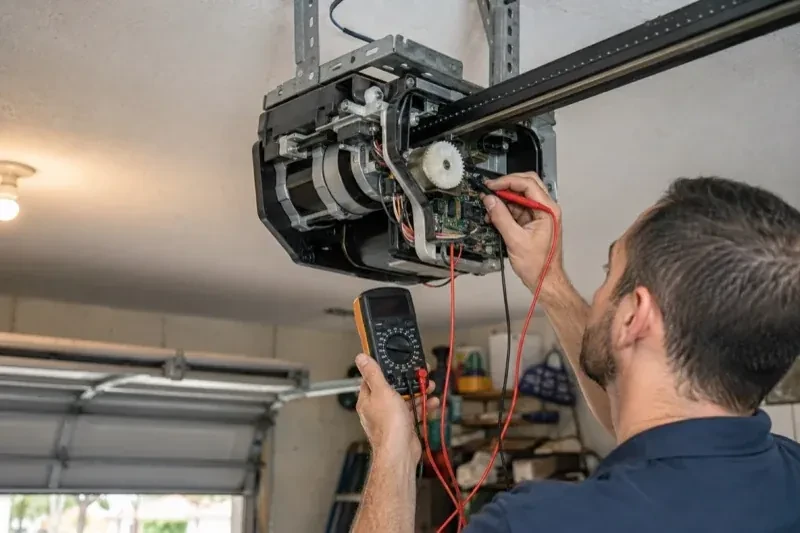
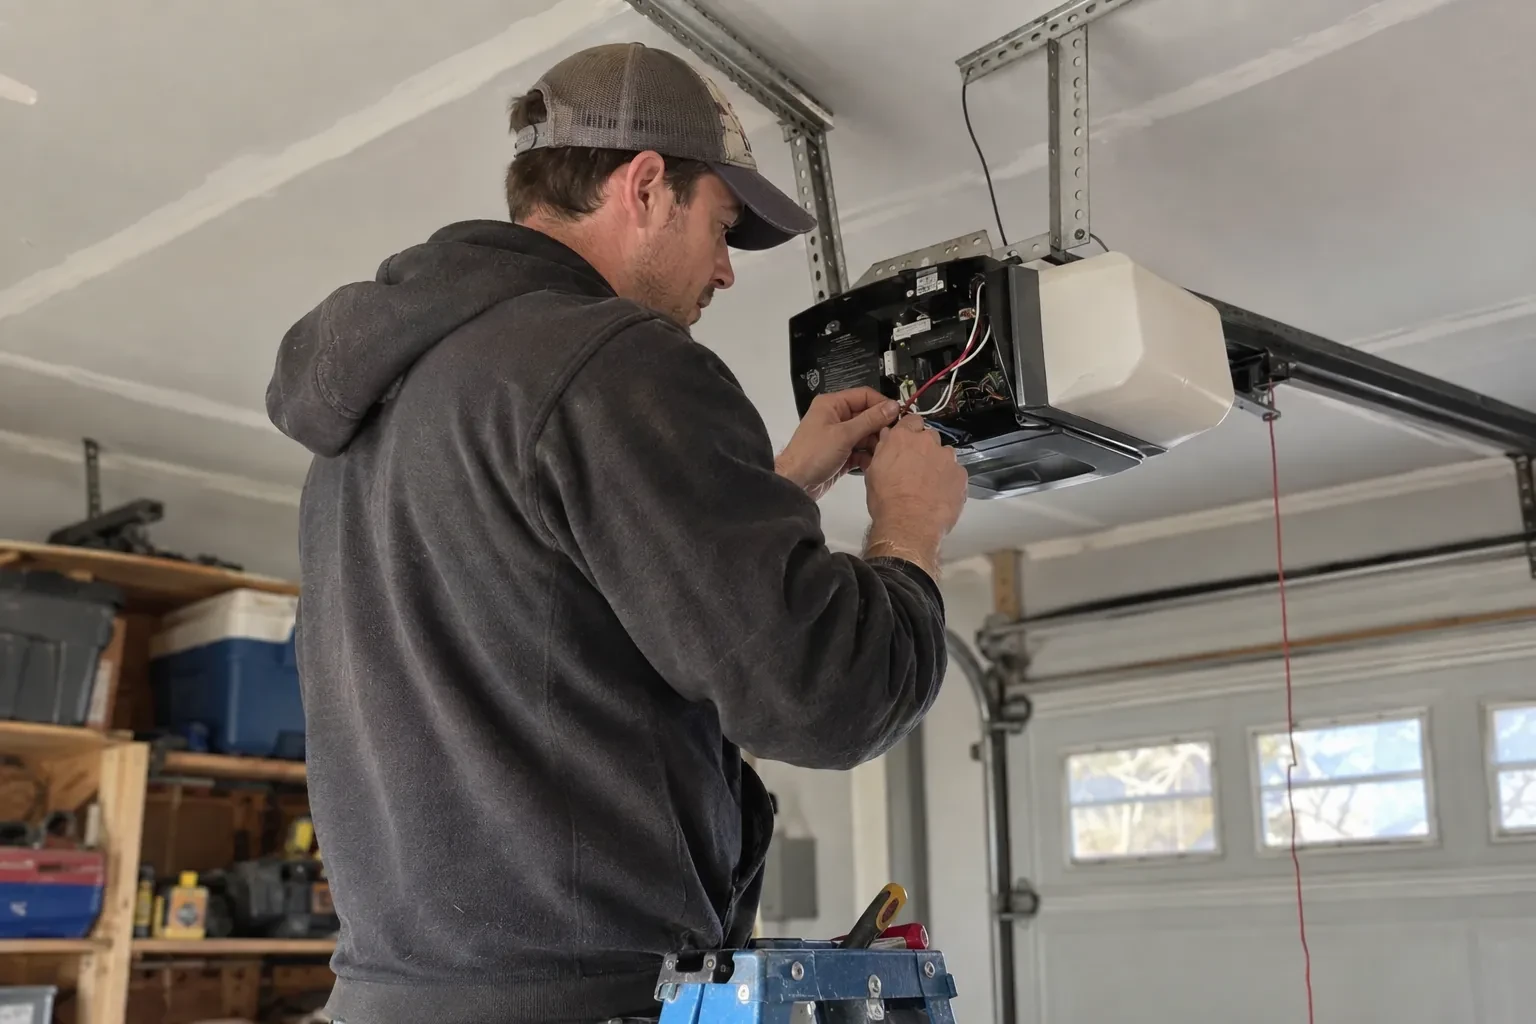
Retrofit hubs draw their power from a plug-in adapter, so the technician looks at the ceiling receptacle the opener uses: is there a spare socket, is it live, and does the adapter's cord reach a mounting spot with a clear line to the door sensor? The hub is placed within a few metres of the door so its own short-range link to the sensor stays solid, and away from the trolley and chain. If the receptacle is full, an approved splitter or a second receptacle installed by an electrical contractor is discussed. The adapter itself is checked for a recognized Canadian approval mark before it is plugged in.
Mounting and teaching the door sensor
The sensor is fixed to the inside of the top door section with two screws, oriented the way its maker specifies so the tilt reading is unambiguous. Its battery goes in, and the hub is put into pairing mode to find it. The technician then follows the controller's own pairing procedure: some units come already programmed to their sensor and are simply verified through full cycles, others are taught the closed and open positions by cycling the door. Further cycles follow while the app is watched for the status to change within seconds of each end. A sensor that reports late or wrongly is repositioned rather than left to be second-guessed later.
The monthly tests still matter
Adding a controller changes nothing about the physical checks the door needs, and adds one. Each month, lay a 2x4 flat under the door centre and close it; it must reverse on contact. Break the photo-eye beam with a broom handle while closing; it must stop and rise. Then close the door from the app out of sight, and listen for the beeper and watch for the light before movement. If any of the three fails, stop using the opener, move the door by hand only if it must move, and have a technician correct it before the opener is used again. These tests take a couple of minutes and are why remote closing can be trusted.
Smart Garage Controller Setup
In the van
Replacement photo-eye pair
A 2x4 offcut for the reversal test
Mounting screws and brackets
Lithium coin cell or cylindrical cells
Receptacle splitter with approval mark
Smart Garage Controller Setup
What affects the quote
Door and opener condition
A heavy, binding or badly balanced door is corrected before a controller is added. That door-side work, from rollers to spring adjustment, is quoted on its own.
Distance to your address
Every visit includes the drive. A home a few streets from the shop and a property well outside town are different trips, and that shows in the quote.
Door sensor mounting
A flat steel panel takes the sensor in minutes. An insulated, raised-panel or windowed top section may need a bracket or a different spot, which adds a little time.
What to have ready
- Are both photo-eye sensors near the floor lit steadily?
- Does your wall console have a digital display or just a button?
- How many garage doors do you want connected?
Smart Garage Controller Setup: questions
QuestionsDoes the controller need the photo-eye sensors to work?
For remote closing, yes. Controllers built to the operator standard check for a working sensor circuit before allowing a close from out of sight, and the door must stop and reverse if the beam is broken. Opening remotely and checking status generally work regardless. If your photo eyes are missing, dark or misaligned, they are put right as part of getting the door ready for the feature you actually want.
Will my existing remotes and keypad still work?
Yes. The controller adds a new way to give the opener the same command; it sits alongside the ones you already have. Wall console, remotes and outdoor keypad keep working exactly as before, and each is tested at the end of the visit. If a remote has been failing for reasons of its own, a flat battery or a worn button, that is a separate small fix the technician can do while there.
What batteries does the sensor take, and how long do they last in a cold garage?
Most sensors take a coin cell or a pair of small cylindrical cells, specified by the maker. In a heated garage a battery commonly lasts a year or two; in an unheated one, expect less, and choose a lithium cell over alkaline because it holds its voltage in the cold. The app warns you as the battery runs down, and replacing it takes a moment and a fresh cell.
Related services
- Chain-Drive Opener RepairThe door closes, touches the floor, then climbs straight back up as if it hit something.
- Belt-Drive Opener RepairAfter the power came back you pulled the red cord to get the car out.
- Garage Door Opener ReplacementThe remotes only work from the end of the driveway now, and one of them disappeared with a set of keys last month.